
This installation Manual applies to Specrail Residential, Residential Wide, Commercial and Industrial grades of Ornamental Aluminum Fence.

IMPORTANT NOTE: To print this manual, change your printer settings to landscape view otherwise some illustrations may not fit on the page. Most pictures can be clicked on for a larger view and printed separately.
BEFORE INSTALLATION, REMEMBER TO…
- Check local fence codes.
- Have utilities marked.
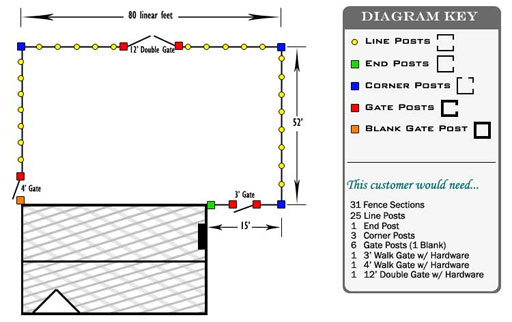
- Measure and plan area.
- Clear fence path of obstructions.
- Reserve your tool rental if needed.
- Buy quickrete and have delivered.
- Unpack material and take inventory.
TOOLS & MATERIALS YOU WILL NEED…
- Post hole digger
- Shovel
- Level
- Hack saw
- Tape measure
- Electric screwdriver
- Hammer
- String line
- Wheelbarrow
- Quickrete
- Ground stakes
- Gravel
Step 1. Stake string lines for each run
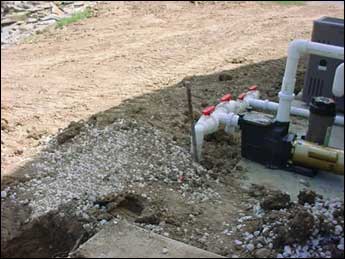
Determine corner and end post locations. Drive stakes into the ground a few feet beyond that point so the string lines can cross making a 90° angle.
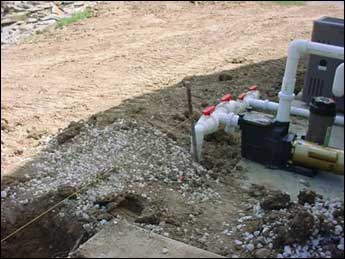
Run a tight string line between stakes to mark the fence line. The stakes should be tall enough so the string does not touch the ground.
HELPFUL HINT: Go ahead and mix your concrete in a wheelbarrow. We use Quickrete brand that already has the sand and gravel included; all you need to do is add water. It can be purchased at Home Depot or Lowes; you will need approximately 1.5 of the 40lb. bags per post hole depending on the size that you dig and the size of posts ordered.. Mix it on the dry side so your posts will stand by themselves as it dries.
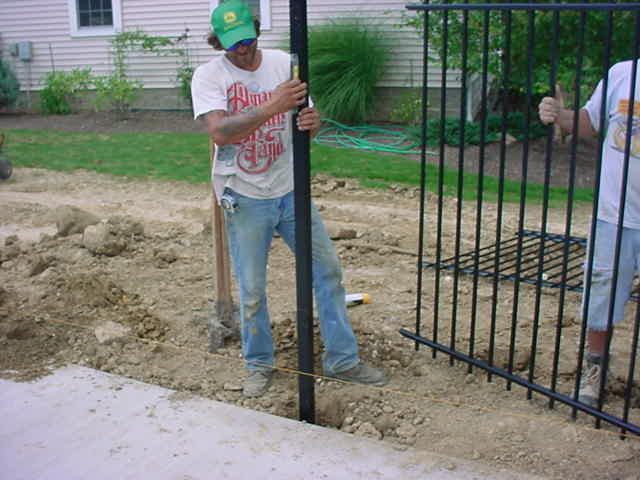
Step 2. Set the end, corner, and gate posts
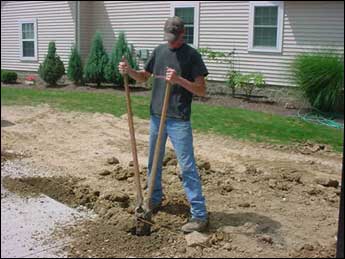
Dig holes at least 6″ in diameter and 2′ deep depending on size of posts. Scoop loose dirt out of the hole and measure to check depth. If too shallow, keep digging, if too deep add some loose gravel. Set post in hole and measure to assure proper depth.

Shovel your mixed concrete around post; fill to 4″ below ground level. Pack the excavated dirt tight around post, this will help keep your post from moving. Make sure the post is plumb against the string line and check for levelness.
HELPFUL HINT: Install fence sections at least 2″ off of the ground. This will allow you to trim under the bottom of the fence without damage and assure easy lawn maintenance.
Step 3. Install line posts and attach sections
Start at an end, corner, or gate post and dig three holes in the direction of your fence line. Holes should be dug 71.25″ apart on center for 2″ posts and 6′ wide sections. This number will change if you are using a larger post and/or 8′ wide fence sections.
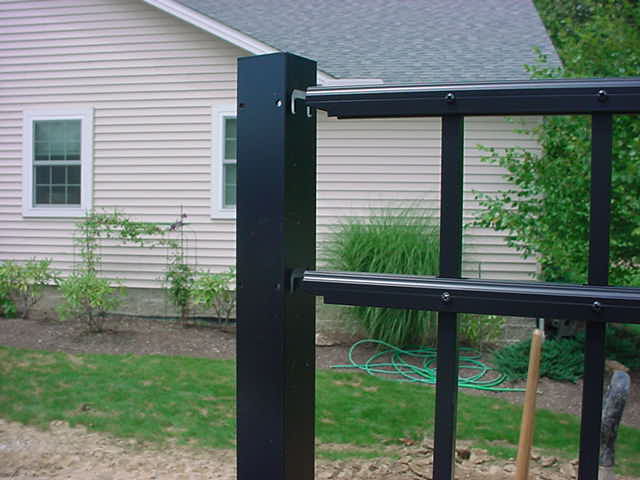
Slide a fence section into the starting end, corner, or gate post, then slide a line post on the opposite side. Then concrete the line post in the ground following step 2b. Repeat this procedure down your fence run; installing section – line post – section – line post. Don’t forget to secure each section with the self-tapping screw provided by the manufacturer.
HELPFUL HINT: Check the fence run and posts to make sure they are straight, level, plumb and the correct height every 5 sections as you are installing. If a correction needs to be made use a rubber mallet while the concrete is still soft.
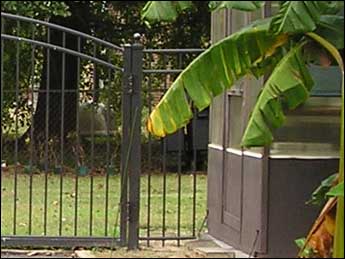
Step 4. Hang gates and attach gate latch
HELPFUL HINT: It is advised to wait 7 days before hanging your gates. If this is not possible and you have to hang the gatessooner, at least wait 7 days before the gate is used heavily.
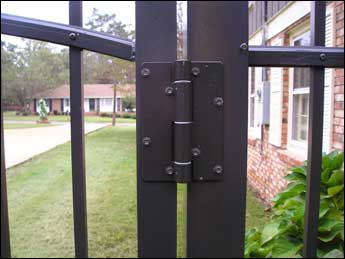
There are two different types of hinges available with Specrail gates. Above is a standard self-closing hinge included with most applications. If you ordered a large estate gate you will receive heavy duty barrel hinges.
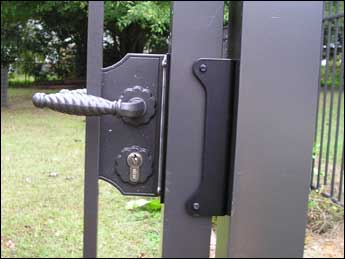
There are several options available for latching hardware. The most popular choices are either a Locinox or a Magna-Latch.
How to handle “special situations”
Hillsides & Slopes
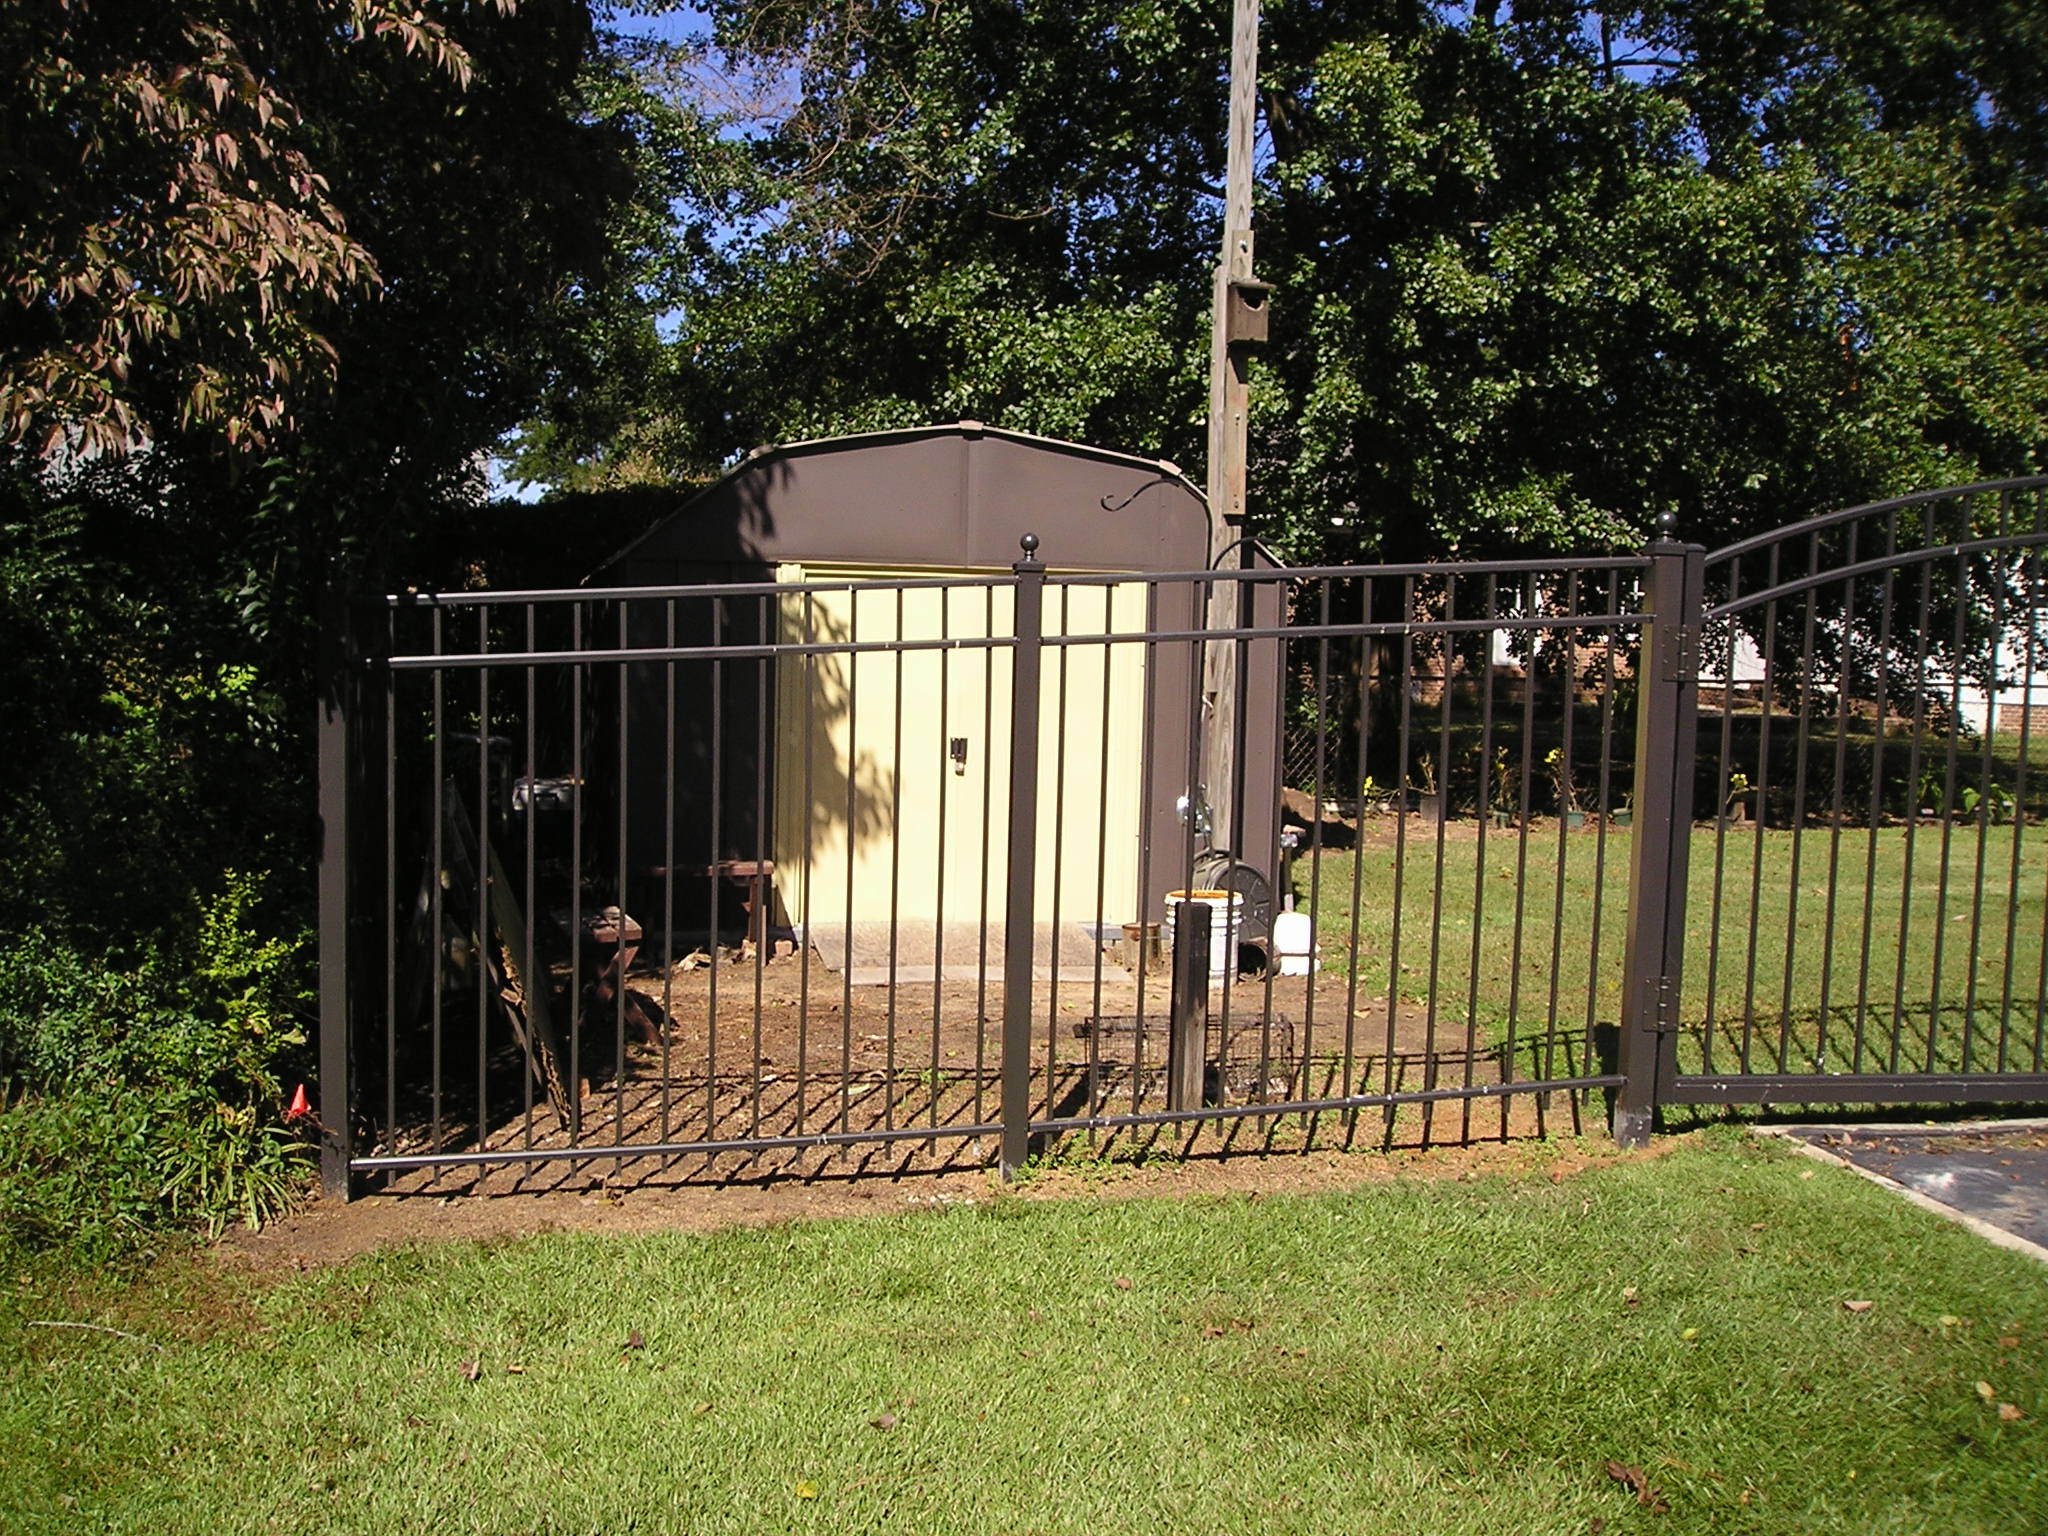
With Specrail there are two ways to order a fence section – standard and double punched. They accommodate a slope from 12″ to 32″ over the span of the fence section depending on the style and grade of fence. Above is a residential rackable section installed on a 4″ over 6′ slope.
Cut Sections
With most installations there will be an fence line that will not fit a full section and it will need to be cut. This is a simple task and can be accomplished with a hacksaw. Make sure you measure twice and cut once. A section can always be trimmed down but cannot be extended to fit.
Attaching To A Wall
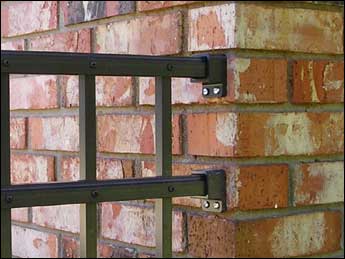
The above picture shows wall brackets attached to the corner of a brick house. Wall brackets are very useful in this application and also when you want to attach to columns, wood, or blank posts.
Odd Angle Corners

A swivel bracket is used when you need to make a turn in your fence line that is not 90° where a corner post is normally utilized. By using multiple swivel brackets you can also make a radiused turn.
Installing On Concrete
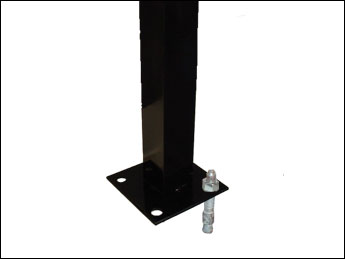
To install a fence on top of a concrete pad you will need to either core drill or use concrete anchors in conjunction with a welded plate on your post. Core drilling gives you a cleaner finish but is more difficult.
Using Different Heights
Certain applications may require you to combine different heights in the same fence line. You would need to order end posts for the taller panel and attach the shorter panel to the same post with wall brackets.
If you have any fence installation questions that are not covered here, please call our offices at 1-833-442-3655 toll free. We are always happy to help!
")